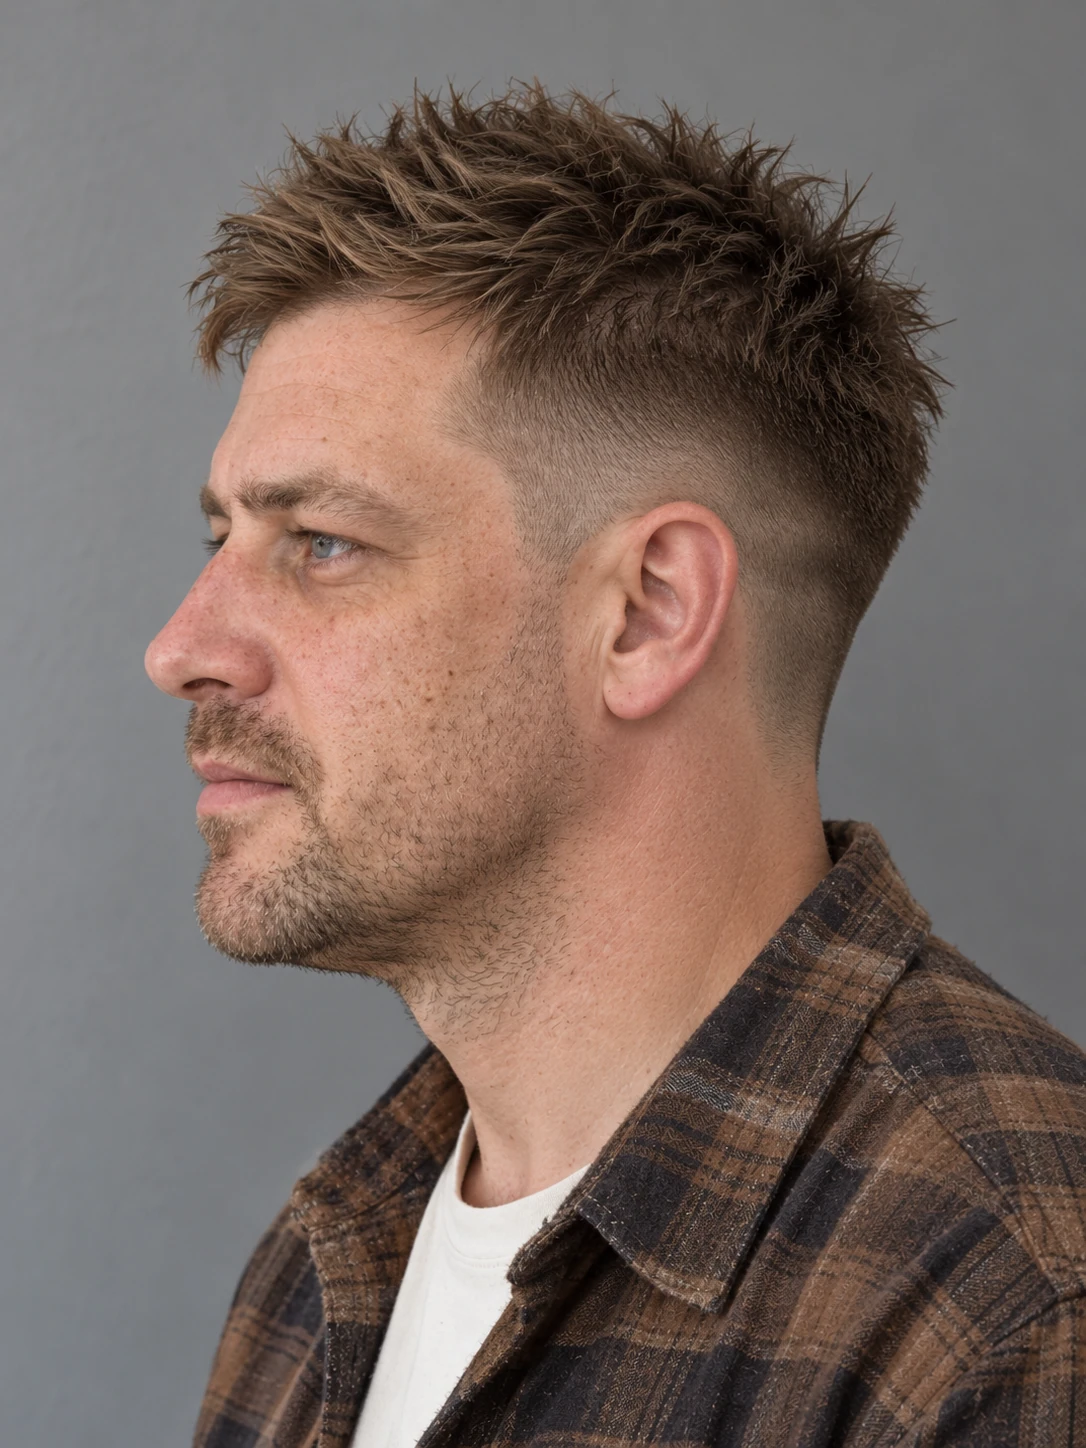
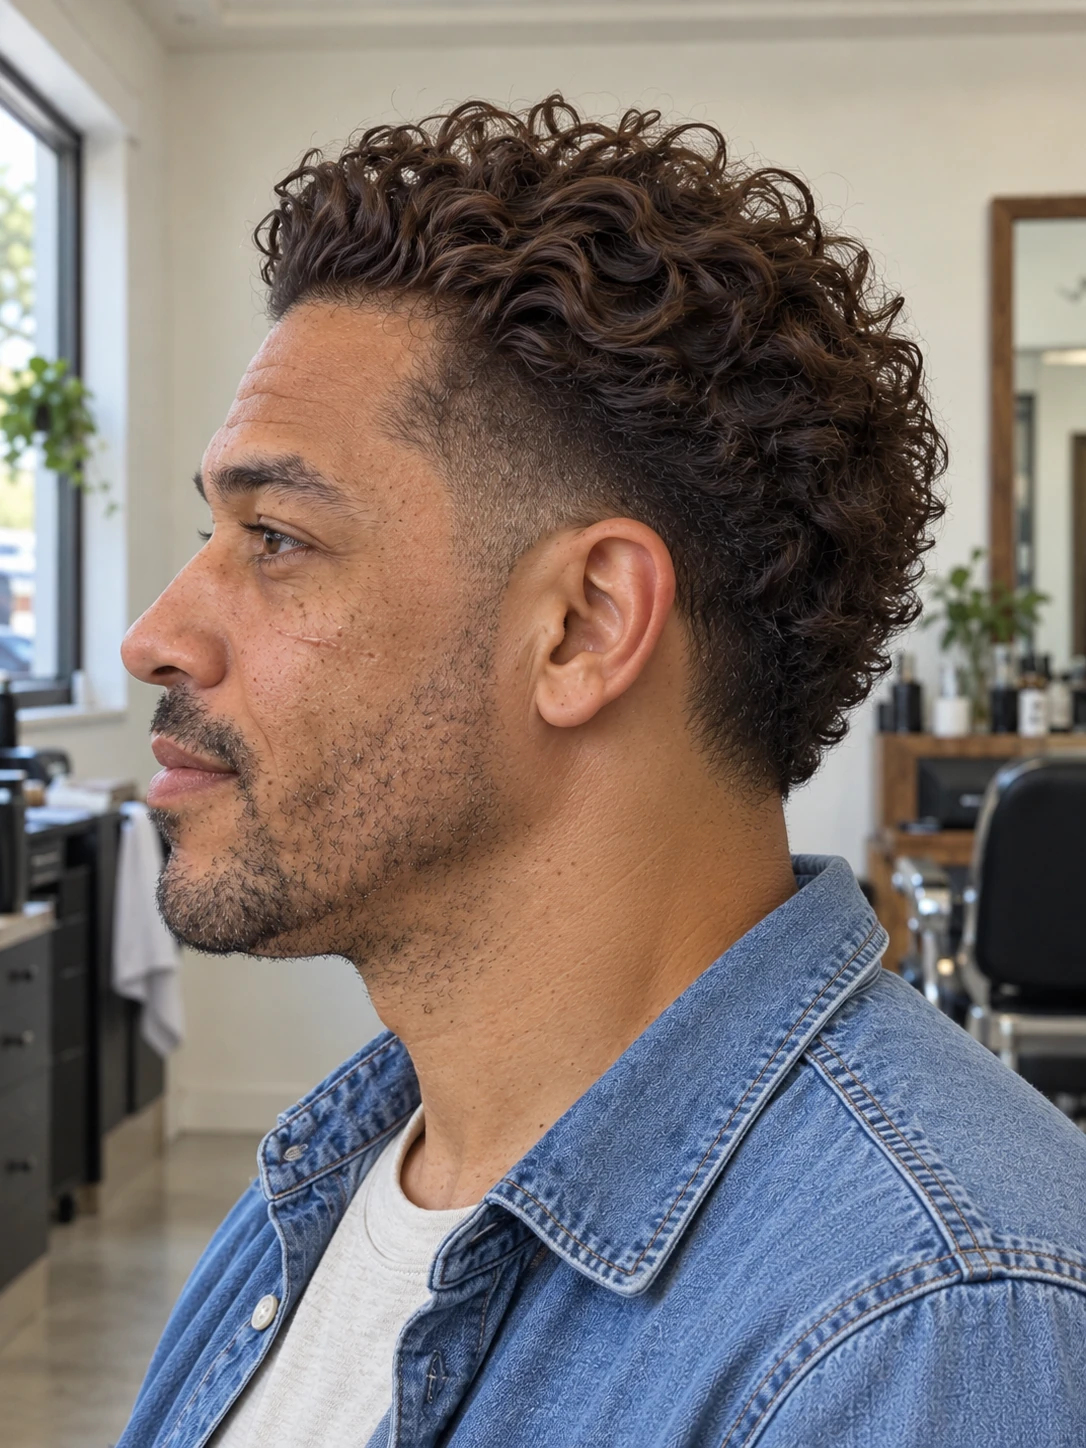
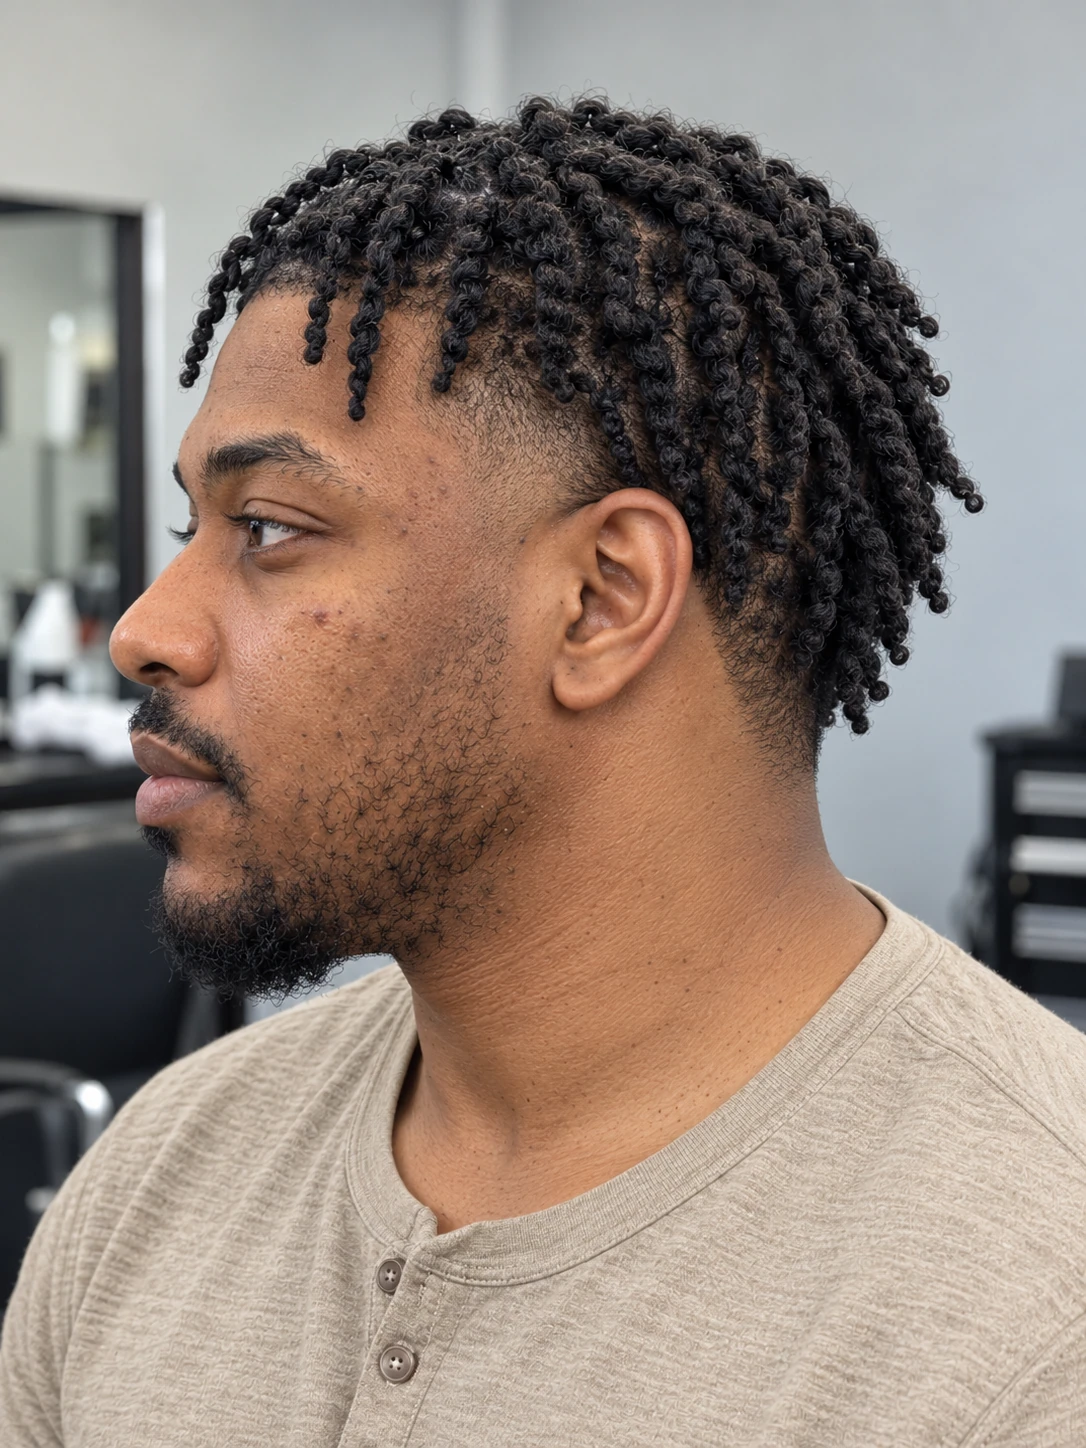
Style the longer top first; the taper is the shorter transition around the edges. A forward crop, a lifted front and defined curls need different handling, even when the lower haircut is similar.
Choose one of the starting routines below. The paste method draws on REUZEL’s published application directions; the curl method adapts Curlsmith’s guidance. They are examples of different approaches, not claims that every formula behaves alike or that a Taper Fade product created the reference images.
01 / THE DETAIL
Start with direction and finish
Before adding anything, decide where you want the front to sit: forward, to one side or lifted away from the forehead. Look at the profile too. Choose whether you want visible curl groups, loose separation or a smoother surface.
Read the product’s application directions for the starting hair condition and quantity. Hold and shine are separate choices: a matte label alone does not tell you how strongly a product will hold. You can also try the shape without a finishing product before deciding what extra control you want.
02 / THE DETAIL
A textured top on straight or wavy hair
For a short top finished with a paste, begin with its specified hair condition. REUZEL’s Matte Styling Paste directions use thoroughly towel-dried or blow-dried hair, a modest starting quantity and more only as needed. That is a formula-specific example, rather than an instruction for every clay, powder or cream.
- 1. Arrange the dry or towel-dried top in your chosen direction before applying the paste.
- 2. Spread the recommended starting amount thinly between your palms so you are not placing one lump in the fringe.
- 3. Work it through the top from the rear towards the front, then use your fingertips to separate small groups in the direction you want.
- 4. For a lifted front, use your fingertips at the roots to position it upward. For a forward crop, guide the fringe forward instead. Check the side outline before adding more.
03 / THE DETAIL
Keep definition in a curly top
For visible curl groups, use a styler intended for that finish and follow its directions. Curlsmith’s curly-hair guidance applies styling products while the hair is wet, distributes them through the curls and leaves the shape alone while it dries. This differs from the paste routine above.
A defined coil pattern and a picked-out Afro silhouette are different finishing goals. If you prefer a fuller brushed or picked shape, use the coily-hair guide to agree that outline rather than assuming this curl-definition sequence will reproduce it.
- 1. Start with the wetness required by your leave-in or styler. Distribute the specified amount through the top rather than coating only the surface.
- 2. Gently gather and squeeze curl groups towards the roots to encourage their existing shape. Avoid repeatedly combing them apart when definition is your goal.
- 3. Let the hair air-dry or use a diffuser according to the appliance instructions. Keep handling to a minimum as the shape sets.
- 4. If your gel dries with a firm cast, wait until the hair is completely dry, then gently squeeze the groups to soften that cast. Not every product forms one.
04 / THE DETAIL
Dry and check the whole shape
Use a soft T-shirt or suitable hair towel to blot excess water instead of roughly rubbing the top. Curlsmith’s drying guide describes this approach alongside air-drying and diffusing. Choose your appliance’s suitable settings and follow its instructions; an inspiration image cannot specify a safe temperature or distance for your tool.
Once the top is dry, check the front and each side in a mirror. Compare fringe position, height and width with the detail you chose from the reference. Use a second mirror for the back. Keep the short temple and nape areas tidy with your usual grooming; styling product cannot create a missing taper or change where the haircut was blended.
05 / THE DETAIL
Make the routine easy to repeat
Take a quick photograph in ordinary lighting and note the product amount, starting hair condition and direction you used. If the result feels too heavy, try a smaller amount next time. If the front falls differently, compare its starting direction before adding another layer of product.
Change one step at a time. Your photographs are useful records of your own preference, not general performance tests. If the shape still depends on more length or a different cut, take that specific problem to your barber and ask for a demonstration on your own hair.
THE USEFUL DETAILS
Questions, answered
How can I compare two styling routines fairly?
Keep the starting hair condition, lighting and camera angle similar, then change one step at a time. Compare the features that matter to you, such as fringe position, width or finish. Your photographs can inform a personal preference, but they do not establish general product-performance claims.
View in the questions library ↗Should I apply styling product to damp or dry hair?
Follow the directions for the actual formula and ask for a demonstration on your cut. Products in the same broad category can have different application instructions. Do not transfer a routine from another product or assume a reference photograph reveals how it was prepared.
View in the questions library ↗What is the difference between hold and shine?
They describe different parts of a finish: how the hair is intended to stay arranged and how reflective it looks. A matte appearance does not automatically mean light hold. Check the actual product's description and directions, and choose the finish you prefer rather than assuming every product category behaves alike.
View in the questions library ↗Keep exploring
Find your next haircut ↗FURTHER READING
Sources and editorial notes
Published by Taper Fade. These barbering and manufacturer resources provide background reading; they have not reviewed or endorsed this page.